Hey! Where are you going with all that tile??
Glass, ceramic, terra cotta, terrazzo samples, metal, or other found objects will look great in concrete stepping stones and most can withstand the weather for quite some time.

Project Difficulty: Moderate
Material Needed, to make 15 stones:
- Concrete - 80lb Crack Resistant Quickcrete
- Pam spray
- Water – about a gallon
- Tiles – prearranged in your pattern
Equipment Required:
- Mixing bucket - 5 gallon
- Stepping Stone forms – 10” houseplant dishes
- Gloves
- Paper Towels
- Trowels

Very fun instructions thanks to Marjorie:
To make five 10” stepping stones, use about 27 “cups” of dry Quickcrete.
Always use gloves when concrete is dry or wet and be careful to not breathe the concrete dust!
Think like a concrete truck and tip your bucket on its side when you’re adding water.

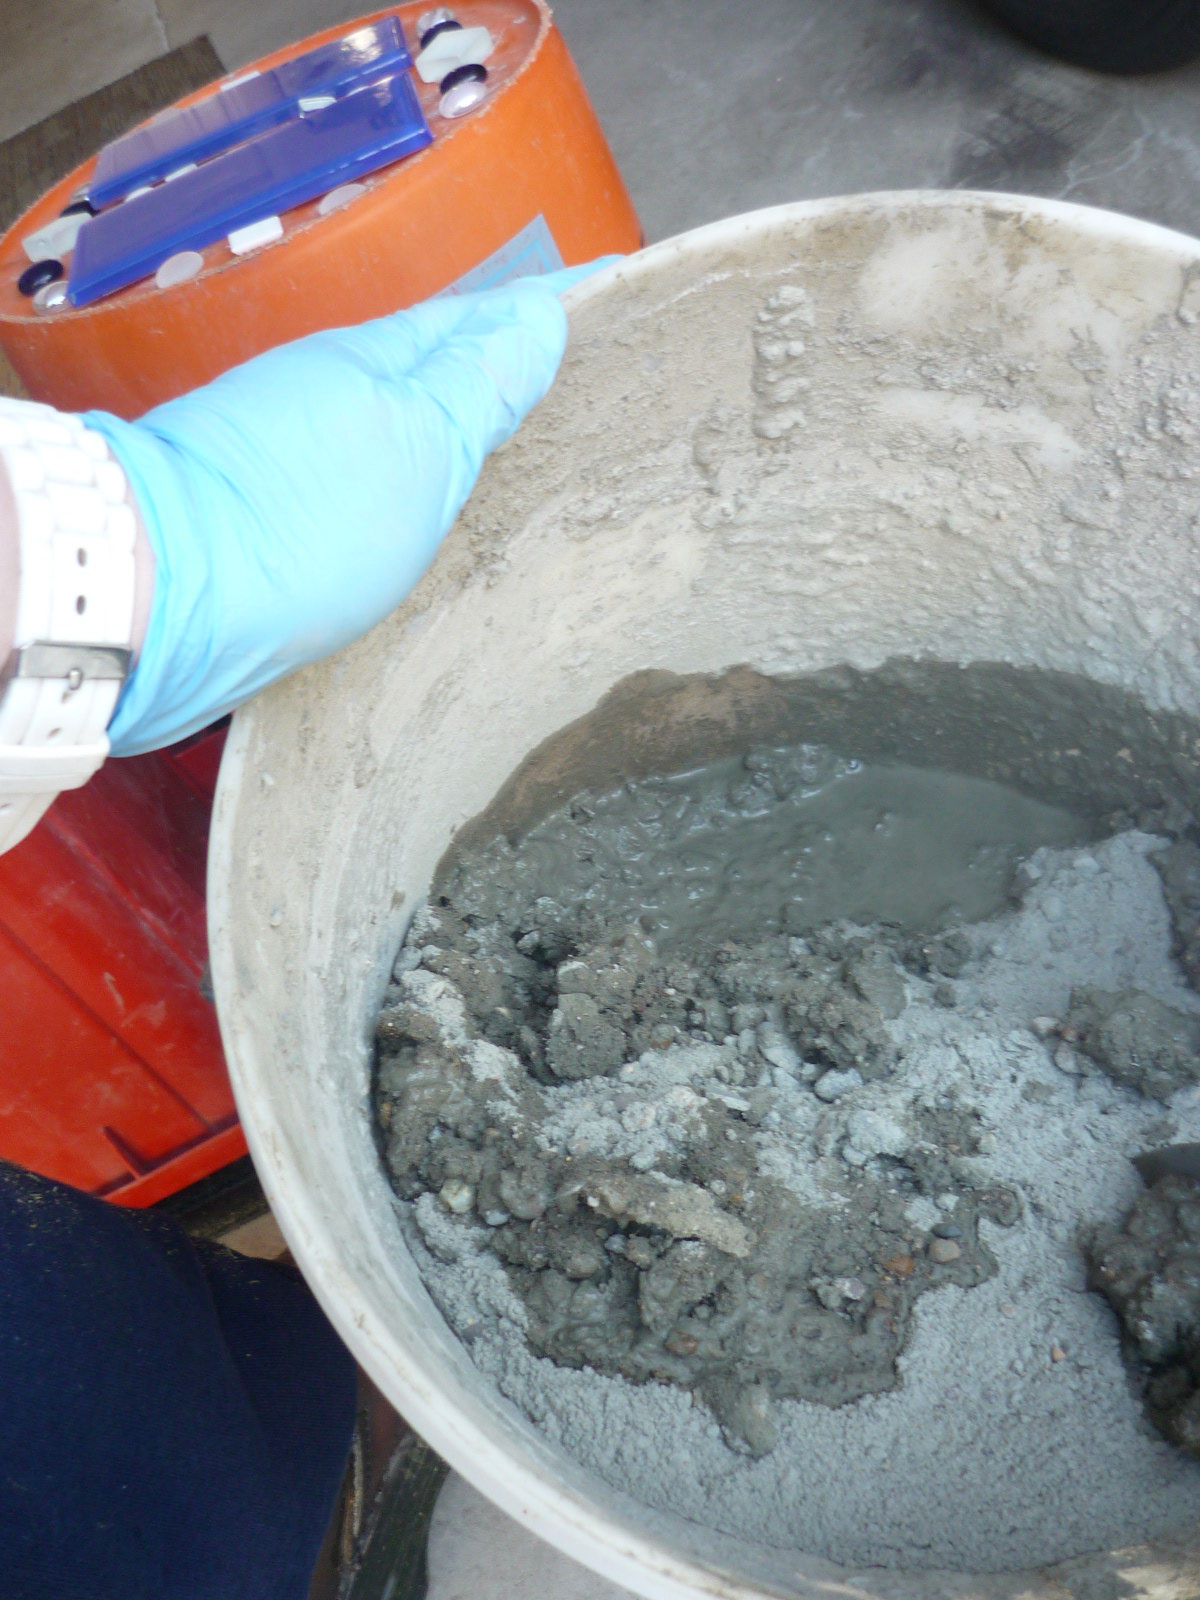
Add one “cup” of water at a time – aim for the bottom of the dry concrete - stir the mix slowly and in upward motions.
Be careful to not add too much water.
This recipe, for five 10” stones, calls for about 27 “cups” of concrete to 5 “cups” of water.
Concrete ready to add to the forms.
If the mix is too wet, add a little more dry concrete. If it is too dry, add a little more water.
Too wet, and your decorations might sink into the concrete more than you hoped for. Also, your stone will take a day or so longer to cure.
Too dry, and the concrete will be harder to add decorations to.


Spray your stepping stone forms with a light coat of Pam cooking spray (or something similar). This will help the form release from the stone in a few days.
Add about four or five heaping scoops of concrete to each form.
Divide as evenly as possible between your forms, but consider that thicker tiles and items will displace more concrete in the form.
Overflow!
Smooth the pile of wet concrete – kind of like spreading peanut butter on toast.
It doesn’t have to be smooth as glass, just generally flat and even around the edges.
You might see bubbles and little pools of water. That’s ok.
Before you add decorations to the wet concrete, you might want to take a few minutes to rinse your mixing bucket.
This short break allows the concrete to start setting up.

Time to add decorations!
Start with bigger items, or those that will be in the middle.
Set them gently on the surface of the smooth concrete.
With your gloved hand(s), press down firmly but gently. Shake the dish a little as you’re pressing down.
Shaking the dish makes the concrete act like quicksand and tiles will sink in a little easier.
If you shake the dish, you’ll see a little more water rise to the surface too. That’s ok.


More decorations…
Start by placing center items first and work your way out.
Like the bigger items, gently press the items into the concrete and shake the dish at the same time.
Tah-dah!
Now it’s ready to dry.
You might see water pooling around some of the tiles. That’s ok. It will evaporate over the next few days and you’ll be able to rinse the “scum” off later.
If the water seems really excessive, or it might overflow your form, gently use the paper towels to wick away the water


Wet stepping stones ready to dry in place for a few days.
In a couple of days, you can wipe off fingerprints or scum left over from little pools of water.
Dry stepping stones ready to cure!
After about four days of undisturbed drying time, remove the stones from the forms.
Cure stepping stones for about two weeks.
Although the concrete is dry when you remove the form, the stones need about two weeks to cure and harden thoroughly before you can step on them or place them in the yard.
Consider curing them on a tarp or garbage bag.
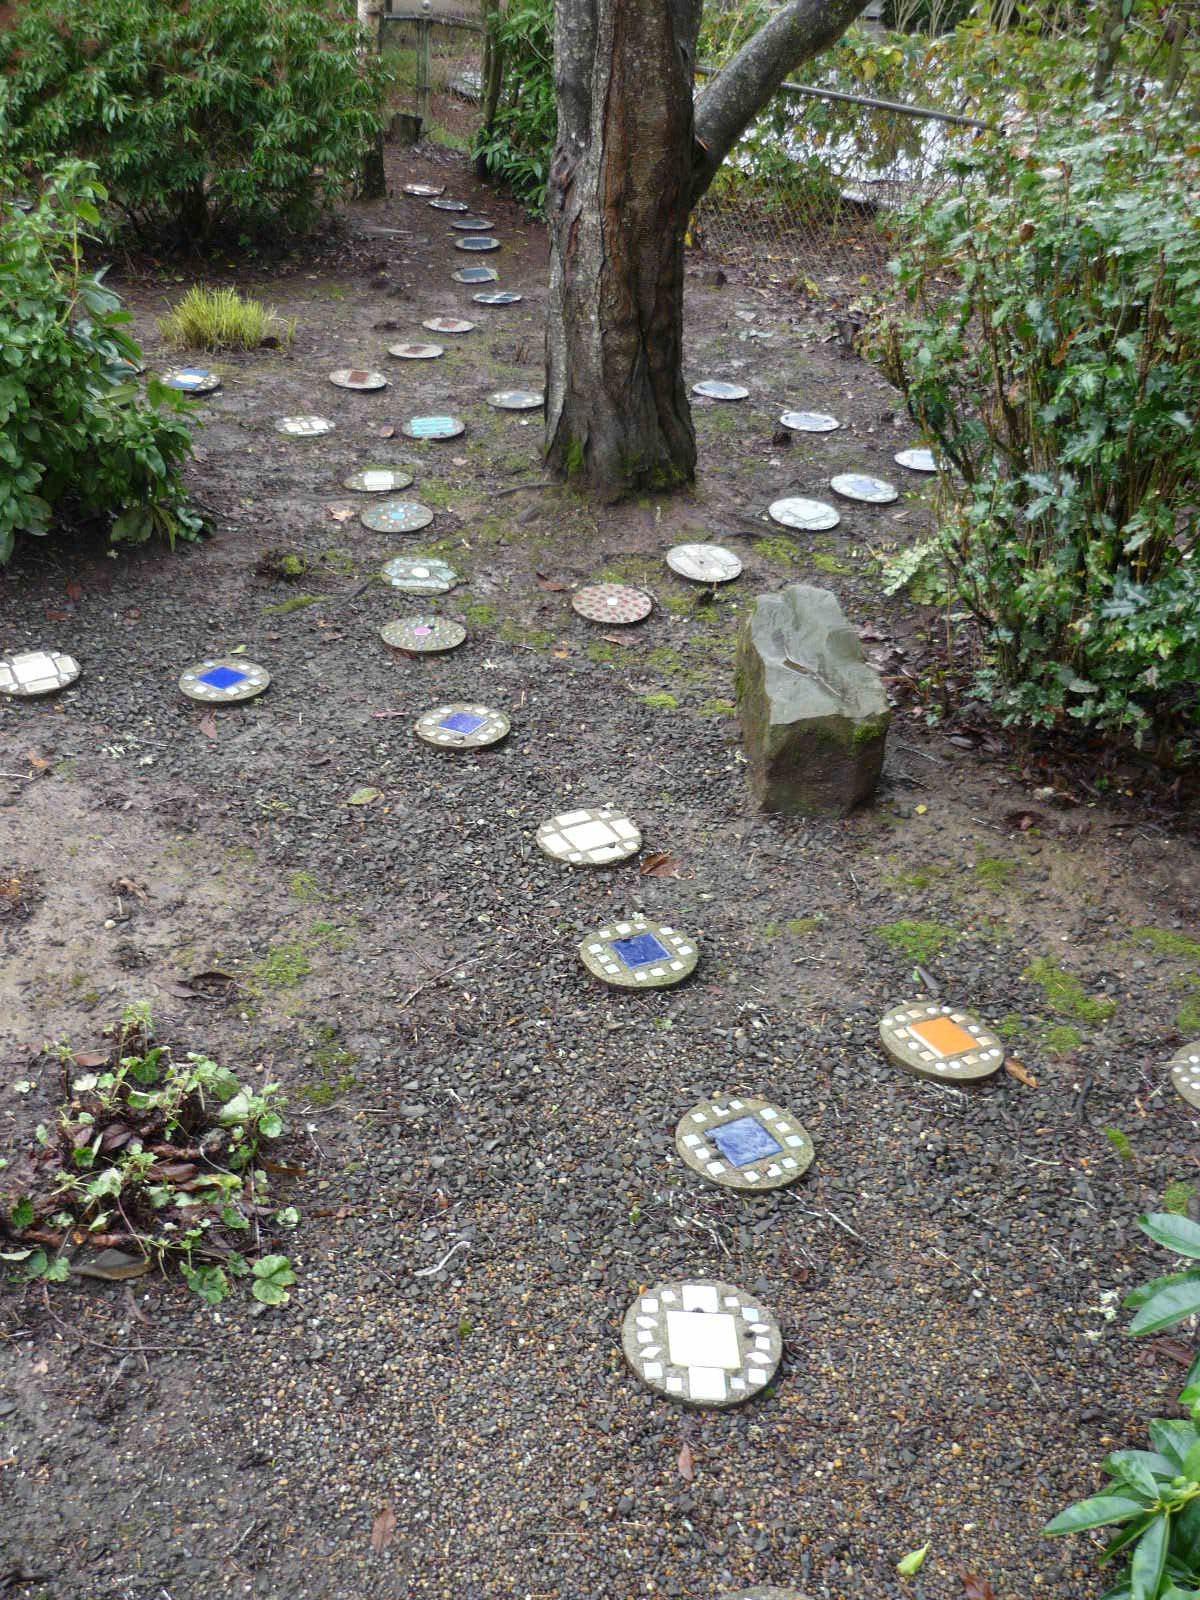
Enjoy your stepping stones!