Mayela Alvarado has an interesting job at the Rebuilding Center. The glass cutting provided by her skills create beautiful framing and Creative Reuse glass projects throughout Portland, Oregon. Join Mayela in her stoudio as she opens up to telling us what drives her creative passion.
Home Fixated talks Keen + Rebuilding Center
Close to home, we toured the Our United Villages ReBuilding Center. The ReBuilding Center is a huge, warehouse-like facility that accepts the region’s largest volume of used building and remodeling materials. Their goal is to keep as much of this material as possible from ending up in a landfill. They even have their own DeConstruction Services unit, which can dismantle pretty much any building, salvaging up to 85% of its major components for reuse. Some materials, such as cement and drywall, end up getting crushed and recycled. Much of the remainder is available to the public at a very reasonable price. Everything from a small piece of trim to a huge timber beam from an old industrial building, plumbing fixtures, doors, windows, mantels, hardware…if it was in a building, you’ll probably find it here.
KEEN Utility partnered with Our United Villages in 2014. After donating 28 pairs of boots to the center’s full-time volunteers, they donated another 40 pairs of steel-toed shoes to establish a Volunteer Shoe Library. DeConstruction volunteers can check out a pair, sort of like you would at a bowling alley, only without the big heavy balls, cheap beer and greasy pizza. This keeps their tootsies safe and comfortable while they spend the day de-nailing lumber, stacking and bundling materials, grading lumber, and so on.
Building The Commons: Tuesdays, Wednesdays, and Thursdays weekly
Building The Commons at Rebuilding Center: Every Tuesday, Wednesday and Thursday from 10:30am to 3:00pm weekly until the project is complete
Time Commitment: Jump in when and where you can! It would be best to see the project to completion, yet we’re happy to involve anyone who’s handy in a wood shop (or wants to be).
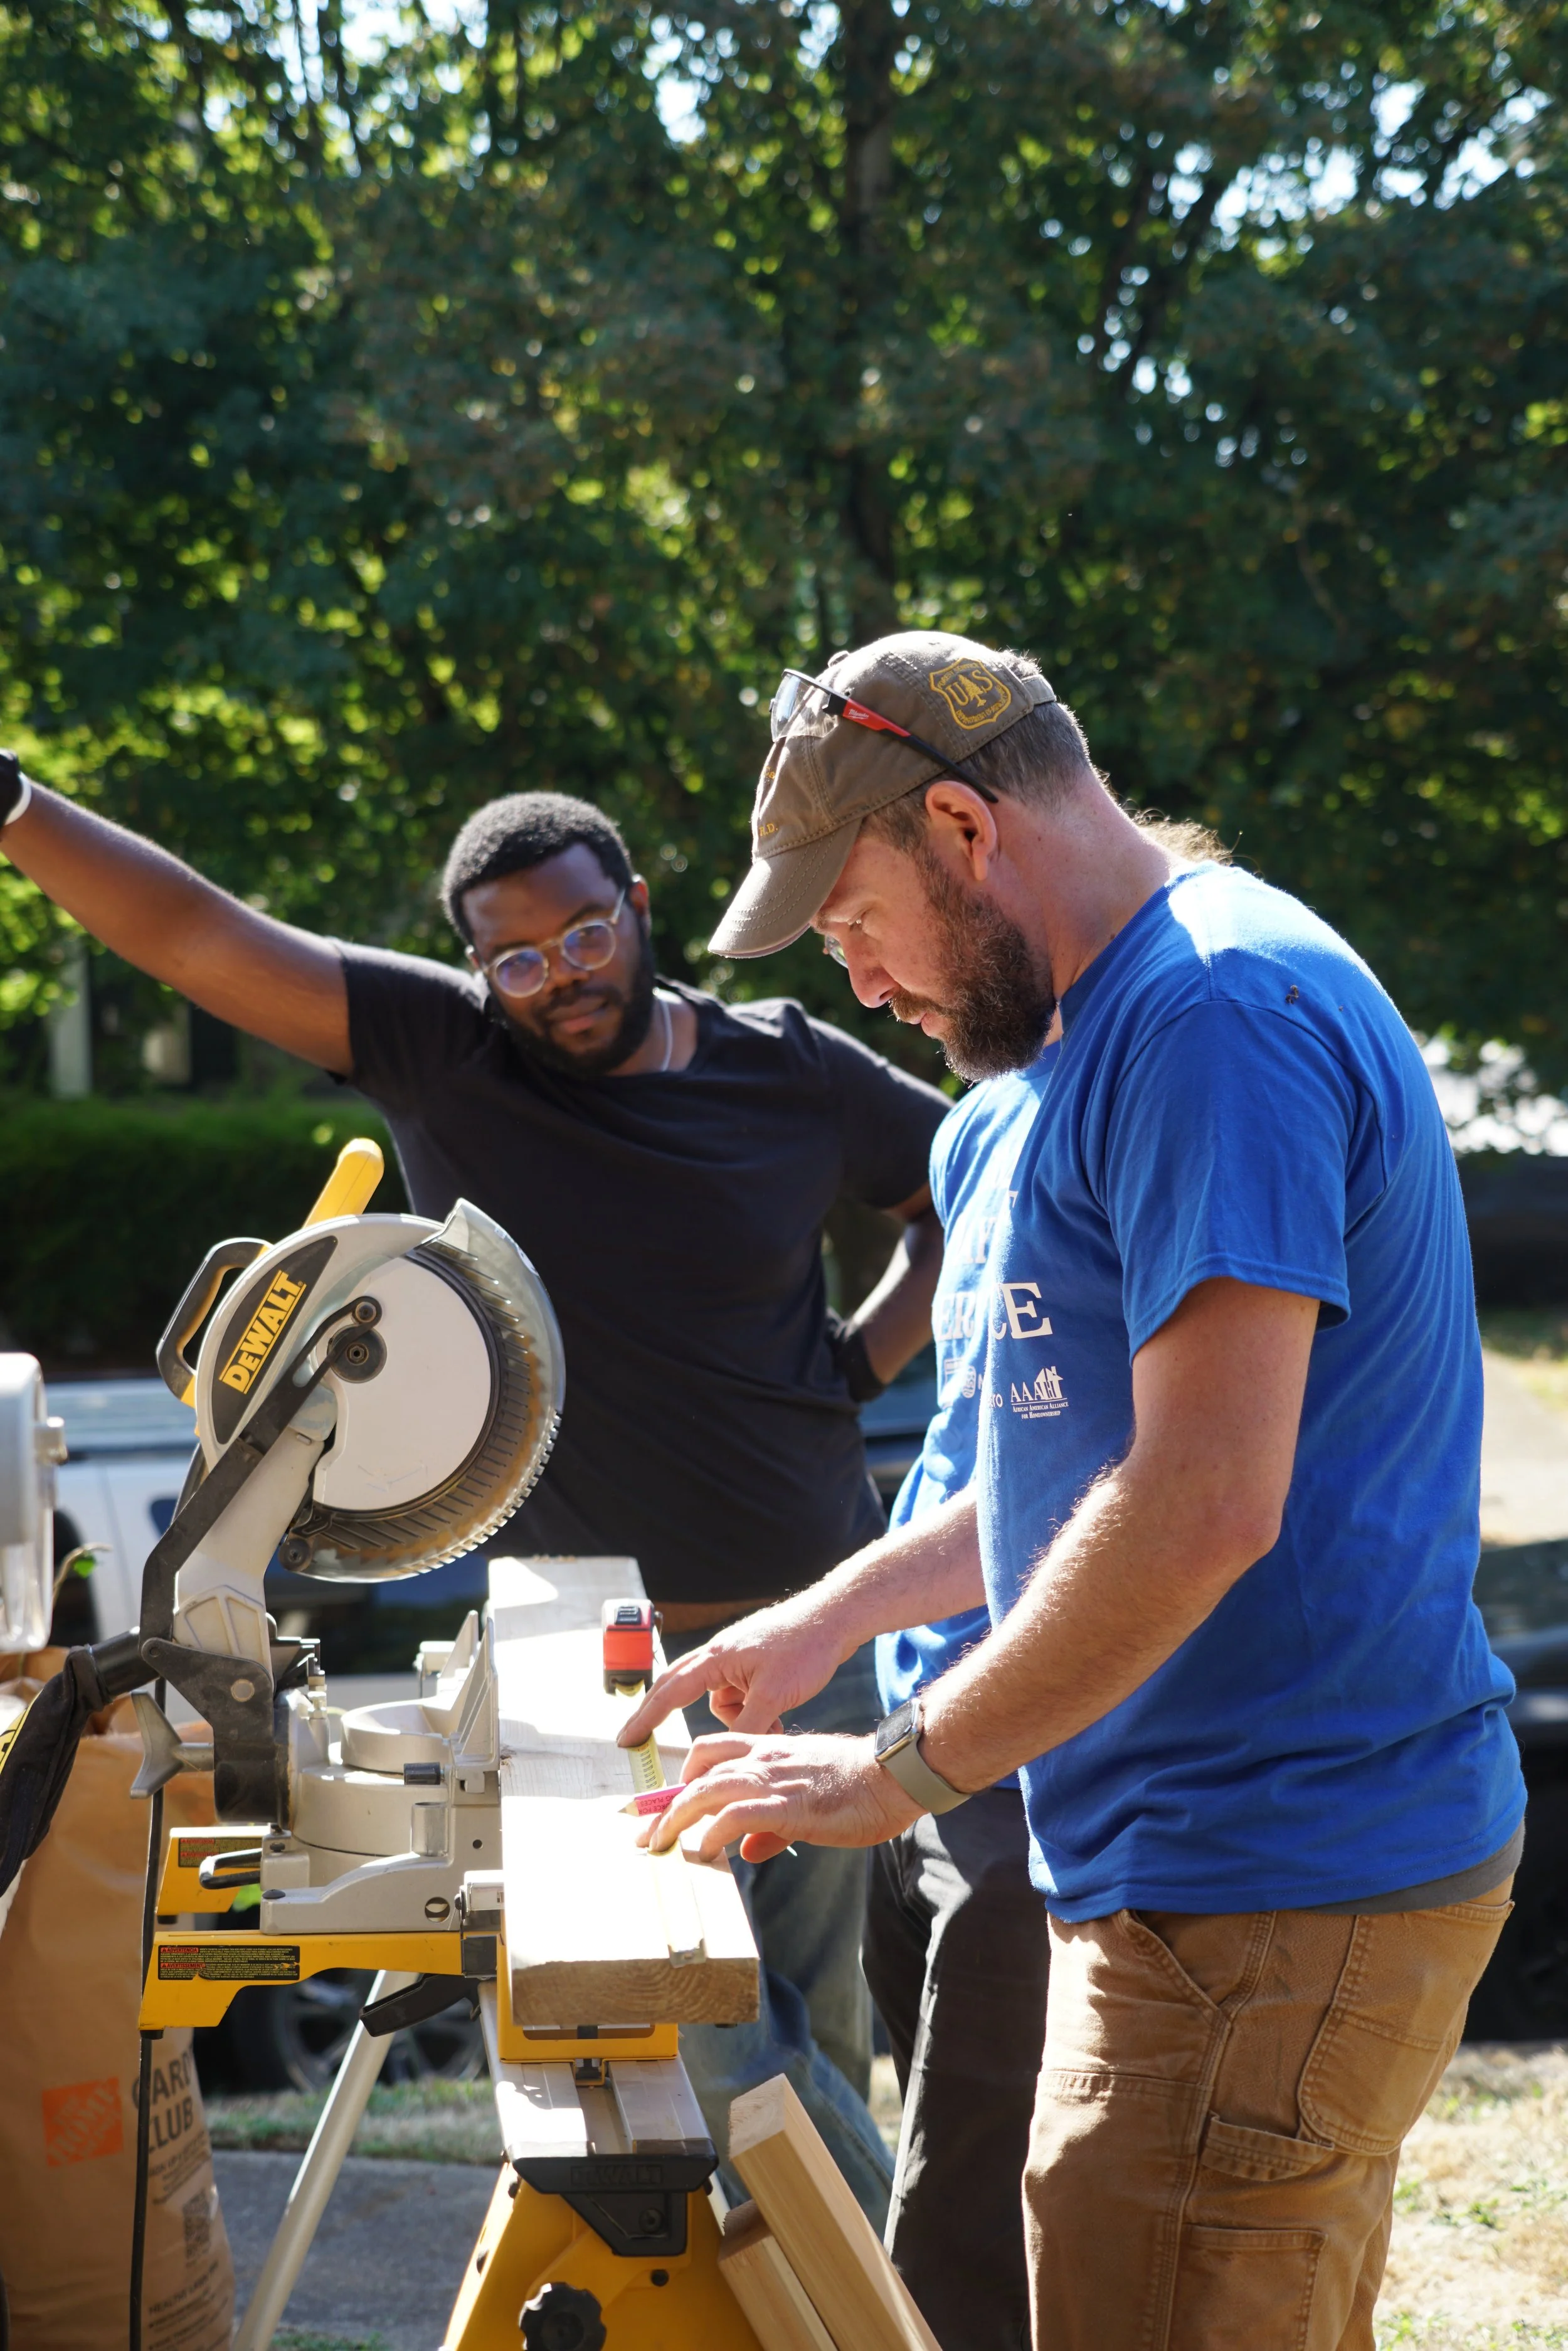
Here's a chance to get involved, hands-on, in some Creative Reuse! The Rebuilding Center has been working with a team of designers to create a wonderful new space. Help renovate The Commons to serve as a welcoming place for the community. When completed, The Commons of The ReBuilding Center will show off dozens of volunteers' work and commitment while telling the story of Our United Villages through salvaged building material.
We are forming a team of carpenters to see this vision out! If you are interested in carpentry and cabinetry, contact Dave to put together a time to meet with the team!
City of Portland Offering Deconstruction Grants
The Rebuilding Center has been on the forefront of deconstruction in Portland since our first project in 1999. As Portland develops at a breakneck pace, the value of this sustainable practice is increasingly recognized. Now the city is onboard! Grant awards range from $500 for partial projects, to $2,500 for full deconstruction, and are limited to projects involving the full removal of a house or duplex within Portland City limits. The first round of funding ends December 31, 2015, so get those applications in! Go to ExploreDecon.com for more grant info or learn more about our services on our Deconstruction page.
Tile Mosaics
Next time you’re visiting Rebuilding Center, be sure to visit the bathrooms! Mosaic artist and long-time staffer, Mayela Alvarado created the bright and colorful recycle sign in the Women's room. And Dan Borg brings our logo to life with this triple-hammer still life in the men’s room.
“I get so much pleasure in taking items that have been discarded and transforming them into lasting works of art” says Dan—and all our customers feel the same way! Check out more of Dan’s work at www.borgmosaics.com.
Mayela says that the Women's bathroom tile mosaic piece was only her second project after the mosaic class she took!
Come by our tile section to create your own reclaimed masterpiece.
Volunteer Spotlight: Shabani Butoyi
Shabani started volunteering at Rebuilding Center in July 2015. With his passion for helping people, he finds the work here rewarding and enjoys the variety of ways he can be of service, and the variety of people he meets. He also enjoys sports: he runs and plays basketball, and volunteers at his school for track meets. Shabani came to Portland with his family from the Democratic Republic of the Congo, seeking a better life as refugees. With his passion for helping people and his ambition to become an engineer or doctor, we know he’ll keep making a better life for himself and his family as well as his community.
Thanks Shabani!
Trade Show Training: Wednesday, November 11th
Trade Show Training
November 11th
6:30pm to 7:30pm
Time Commitment: After training, 3 - 8 hour shifts available throughout the year. Each event is different and flexible, so let us know what works for you!
Once a year, we offer this training to those of you who enjoy getting out in the community and connecting with people at events. We go to Trade Shows, Fix-It-Fairs, Sunday Parkways, Environmental Expos and many other community events. Tabling at these events is all about building connections and sharing your experience with, and knowledge of, The Rebuilding Center. We have a great line-up of community events on the schedule and look forward to involving all of you in the community outreach and information sharing.
You will receive an email reminder 24 hrs prior the the event. Sign up below:
Volunteer Leader Training on Wednesday, October 28th
Volunteer Leader Training:
Wednesday, October 28th
6:30pm to 7:30pm
Time Commitment: After training, 3 hour shifts - on your own schedule! Volunteer Leaders fill slots on the schedule as they see fit.
It’s that time again where we provide you with an opportunity to take the reigns of our leadership and community engagement efforts by getting trained as a Volunteer Leader! VL’s have the unique opportunity to act in a guiding, delegating, and supporting role for the many projects underway at The Rebuilding Center. The training consists of two parts: a one-hour class room portion when we review the position and go over some of the basic responsibilities, and a shadowing portion alongside a Salvage Specialist staff member.
We spend the classroom hour going over the Volunteer Leader Handbook so you know where to find all the resources you need to excel as a leader. The shadowing portion allows you see, first-hand, where and how you can use your new knowledge! Ranging from material identification and common usages to pointers on how to work effectively with diverse populations, the training is geared towards empowering existing volunteers to take a more involved role with our communities through leadership.
To sign up, email volunteer@rebuildingcenter.org
Dan Archer Sketches for Social Justice
The Community Legacy Program is a project of Rebuilding Center which engages and strengthens the social fabric of our community through storytelling.
Let’s meet artist Dan Archer. Dan sketches as “a kind of graphic slow journalism.” Sean O’Connor, our Outreach and Strategic Coordinator, connected with Dan at a conference on community engagement and journalism.
In this short film, Sean explores Dan’s unique and personal approach to how he sees and records the world, as he engages with people through his art. Check out Dan’s website to learn more about his eclectic background of service, politics and activism: he’s been involved in game-changing projects in India and Nepal as well as the US and Great Britain.
Rebuilding Center Staff Get Crafty for Creative Reuse Day
To celebrate National Reuse Day, we wanted to give you some inspiration to create your own reuse projects! Check out what our crafty staff members at The Rebuilding Center have made out of repurposed materials.
Kelly Stevens, the office manager at the Rebuilding Center created this cute, crafty and very Northwest scarf hanger. Kelly purchased the fixture from us a couple of years ago to store her Timbers Army scarves and wood goal coin!
Michael McMahon shared his inspiring ADU's (Accessory Dwelling Units) he hand crafted out of materials from the Rebuilding Center warehouse in his backyard.
Tom Patzkowski laid his own pavers with a successful little wall that sections off his side hard.
Sean O'Connor is in the process of moving into a small home with his family 4 where they are utilizing all the spaces on the property. Here you can see the shed walls that he has created with different stained pieces of lumber from our lumberyard.
Share your creative reuse projects with us and receive a 10% off discount! Email us at: communications@rebuildingcenter.org!
National Reuse Day: Rebuilding Center x Pistils | Terrarium Workshop
In celebration of National Reuse Day, join us for a fun workshop on repurposing old glass light fixtures into terrariums!
One air plant, a light fixture, rocks, sand and other decorative items will be available for each participant.
Pistils Nursery has also provided an additional 30% off discount in their store up the street if you'd like to get more elaborate with your ideas during the workshop (for October 20th only).
We have a limited capacity, only 12 spots are available.
All you need to bring is your creative selfs and $5 cash.
October 20th
6pm - 7pm
Rebuilding Center Commons
3625 N. Mississippi Ave.
Email workshops@rebuildingcenter.org with any questions.
Mississippi Avenue Ice Cream Social
Last Tuesday, the Mississippi Avenue community hosted an ice cream social for the public. Participating organizations included the ReBuilding Center, Laughing Planet, Radar Restaurant, Mississippi Pizza Pub, Salty's Pet Supply, and countless others. Here are a few photos that highlight the success of the event:
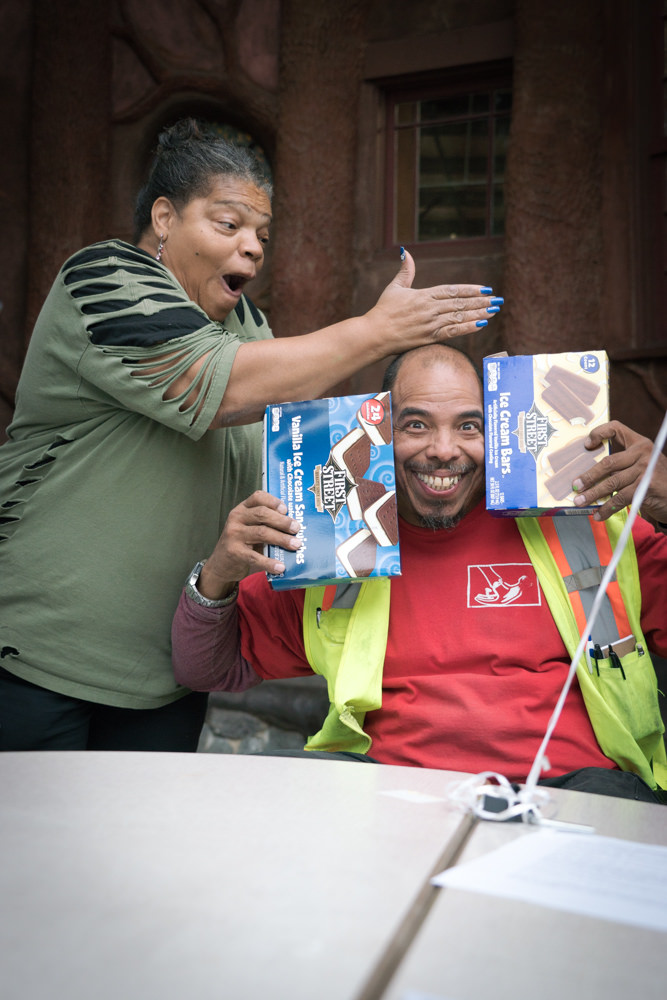
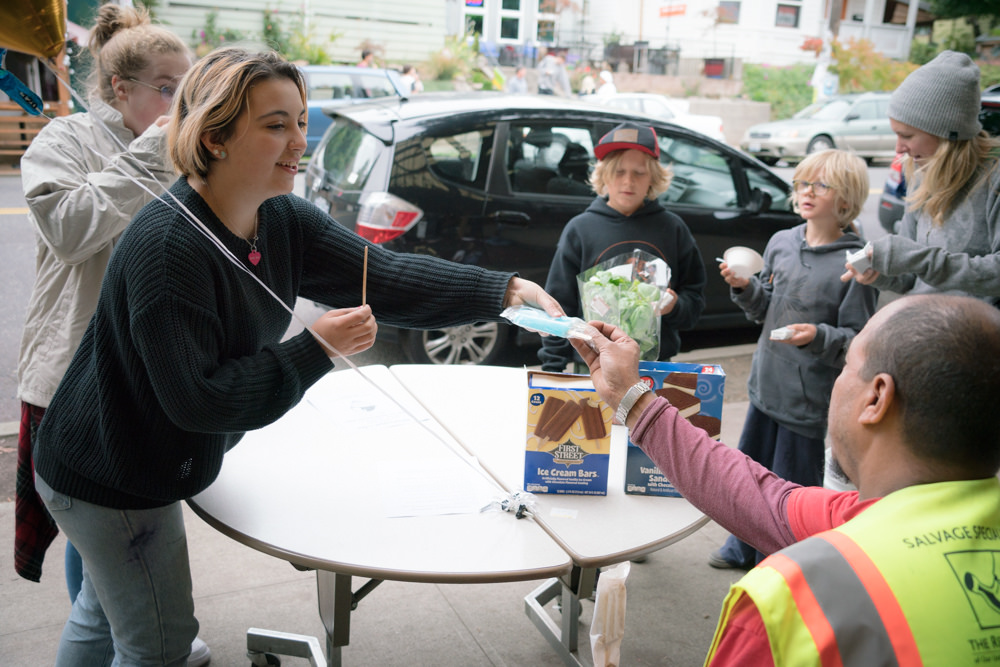





Thanks to all who participated in making this event a success!
Photos: Sean O'Connor/Our United Villages
Keen Provides Utility Volunteer Boot Library
Here's a loving post from Keen's blog about our relationship and their support of our volunteer's toes. Click here to see the full article.
Here's an excerpt:
"We recently teamed up with our friends at the ReBuilding Center to create a boot library! The ReBuilding Center is one of KEEN’s favorite non-profits, located just a short bike ride away from our headquarters in Portland, OR. They specialize in providing reclaimed building materials at little or no cost for individuals, small businesses, and other grassroots organizations looking to complete a project. They also provide deconstruction services as a sustainable alternative to conventional demolition.
It’s run by a small staff and over 2,000 volunteers, who all require sturdy, steel toe boots when working at the center or helping with a demolition. We recently met with Sean O’Connor, the Strategic Coordinator at ReBuilding Center, who said that mandating steel toe footwear for deconstruction projects has decreased their volunteer pool. “A lot of people came in to help but couldn’t do the tasks because they didn’t have the proper footwear,” he explained."
Outreach and Strategic Coordinator, Sean O’Connor
Walking into the workroom
The handcrafted entrance made entirely of repurposed materials
We caught Mayela mid-laugh. She’s longtime employee and an expert glass cutter
The KEEN boot library at the Rebuilding Center
Leo!
Just when we thought we saw all of the center, we turned a corner and found the expansive lumber yard
Another entrance to the Rebuilding Center
A pair of KEENs on the job
Every color in the cabinet rainbow
The view of TRC along Mississippi street
Wall Street Journal on How Sewage Water Might Make Good Beer
March 12 | 2015
"The railing at the front of the ReBuilding Center in Portland, Ore., is made of repurposed metals, including old tools and parts of machinery. Members of the city’s ‘master recycler’ course visited the center, which accepts donations of used building and remodeling materials." Photo: Amanda Lucier for The Wall Street Journal
Wall Street Journal cites us as a part of an innovative group of recyclers in NW.
Reuse Library : Creative Reuse Anthology
Share your Creative Genius Project and be featured in our upcoming Reuse Anthology!
How to Apply: Send stories and pictures to reuse@ourunitedvillages.org
End of submissions: September,10 2014
You will get a 10% off for your next purchase at the Rebuilding Center!
Stepping Stones Garden
What can you do with a lot of scrap tiles ?
Marjorie Taylor loves to collect them. So when she stopped by the Rebuilding Center and checked out with her handful of awesome scrap tiles, she talked to our cashier Ella Rose about the stepping stones she makes with all of the tiles she collects.
Ella Rose’s interest in her crafty project encouraged her to finally complete an instruction guide.
She hopes this instructions will be helpful and that other people might make some interesting yard art with fun tiles!
We can now find it in our Creative Reuse Library here :
Stepping Stones instructions
As Marjorie says "I like to garden, but I don’t like to step in the dirt" :)
How to Make Stepping Stones
Glass, ceramic, terra cotta, terrazzo samples, metal, or other found objects will look great in concrete stepping stones and most can withstand the weather for quite some time.
Project Difficulty: Moderate
Material Needed, to make 15 stones:
- Concrete - 80lb Crack Resistant Quickcrete
- Pam spray
- Water – about a gallon
- Tiles – prearranged in your pattern
Equipment Required:
- Mixing bucket - 5 gallon
- Stepping Stone forms – 10” houseplant dishes
- Gloves
- Paper Towels
- Trowels
Very fun instructions thanks to Marjorie:
To make five 10” stepping stones, use about 27 “cups” of dry Quickcrete.
Always use gloves when concrete is dry or wet and be careful to not breathe the concrete dust!
Think like a concrete truck and tip your bucket on its side when you’re adding water.
Add one “cup” of water at a time – aim for the bottom of the dry concrete - stir the mix slowly and in upward motions.
Be careful to not add too much water.
This recipe, for five 10” stones, calls for about 27 “cups” of concrete to 5 “cups” of water.
Concrete ready to add to the forms.
If the mix is too wet, add a little more dry concrete. If it is too dry, add a little more water.
Too wet, and your decorations might sink into the concrete more than you hoped for. Also, your stone will take a day or so longer to cure.
Too dry, and the concrete will be harder to add decorations to.
Spray your stepping stone forms with a light coat of Pam cooking spray (or something similar). This will help the form release from the stone in a few days.
Add about four or five heaping scoops of concrete to each form.
Divide as evenly as possible between your forms, but consider that thicker tiles and items will displace more concrete in the form.
Overflow!
Smooth the pile of wet concrete – kind of like spreading peanut butter on toast.
It doesn’t have to be smooth as glass, just generally flat and even around the edges.
You might see bubbles and little pools of water. That’s ok.
Before you add decorations to the wet concrete, you might want to take a few minutes to rinse your mixing bucket.
This short break allows the concrete to start setting up.
Time to add decorations!
Start with bigger items, or those that will be in the middle.
Set them gently on the surface of the smooth concrete.
With your gloved hand(s), press down firmly but gently. Shake the dish a little as you’re pressing down.
Shaking the dish makes the concrete act like quicksand and tiles will sink in a little easier.
If you shake the dish, you’ll see a little more water rise to the surface too. That’s ok.
More decorations…
Start by placing center items first and work your way out.
Like the bigger items, gently press the items into the concrete and shake the dish at the same time.
Tah-dah!
Now it’s ready to dry.
You might see water pooling around some of the tiles. That’s ok. It will evaporate over the next few days and you’ll be able to rinse the “scum” off later.
If the water seems really excessive, or it might overflow your form, gently use the paper towels to wick away the water
Wet stepping stones ready to dry in place for a few days.
In a couple of days, you can wipe off fingerprints or scum left over from little pools of water.
Dry stepping stones ready to cure!
After about four days of undisturbed drying time, remove the stones from the forms.
Cure stepping stones for about two weeks.
Although the concrete is dry when you remove the form, the stones need about two weeks to cure and harden thoroughly before you can step on them or place them in the yard.
Consider curing them on a tarp or garbage bag.
Enjoy your stepping stones!
Here is an example of what how stones look in a winter yard.
They add some colorful interest and weather nicely over time.
Submitted by:
Marjorie Taylor, in Portland, OR
May 31: National Macaroon Day DeNailing
May 31st is National Macaroon Day! Help us celebrate the magic of this European delicacy while de-nailing lumber.
Team up with other volunteers to salvage reusable lumber on Saturday, May 31st. The event will kick off with a small information session and then we’ll get down to business.
Coffee and macaroons will be available!
Click here to register for the event!
We will meet at our storage lot at 751 N. Cook St (behind Grand Central Bakery on Fremont).
The lot is just a couple streets over from The ReBuilding Center warehouse.
Saturday, May 31
11am to 3pm
TRC Storage Lot
751 N. Cook St
Portland, OR 97227
The lumber you’ll be working with comes from DeConstruction Services, which offers an affordable and sustainable alternative to conventional demolition. Working by hand, our crews salvage up to 85% of a building’s major components for reuse.
DeConstruction of an average 2000 sq ft house:
• Preserves 2,400 gallons of clean water
• Saves 33 mature trees
• Provides 907 additional hours of work at a living wage
• Reduces greenhouse gas emissions equivalent to taking 2.9 cars off the road for a year
Learn more about DeConstruction, or watch a DeConstruction time lapse.
In addition, the sale of donated items supports the Community Legacy Program - a free resource for sharing community-building stories, strategies and ideas.
May 17: Living Legacy Story - Chinelos Dancers
Join us for this dynamic and vibrant event featuring, Orgullo Morelense Cemiac, a Chinelos dance group on Saturday, May 17th from 1-3pm.
Chinelos are the best-known Carnival dancers in Mexico and are easily recognizable with their elaborate costumes and distinctive jump-like dance. The Chinelos group, Orgullo Morelense Cemiac, was started in Portland, OR in 2009 by Alex Arenales as a way to teach his children about the customs and traditions of his hometown of Morelos, Mexico. Alex and his Chinelos Dancers enliven and build community in Portland through their vibrant cultural sharing.
This event will include a viewing of the colorful, intricate costumes at 1pm, as well as a live performance at 2pm.
The performance will take place at the Community Trees area at The ReBuilding Center, 3625 N. Mississippi Ave. Everyone is invited to this free community event.
This event is hosted by the Community Legacy Program of Our United Villages, a free resource for sharing community-building stories, strategies and ideas.
Saturday, May 17
1pm to 3pm
The ReBuilding Center
3625 N. Mississippi Ave
Portland, OR 97227
Herb Planter Box
Dave likes to use the materials that help give a sense of history to the projects that he does.
This project was for gifts and the people receiving them also appreciated that reused materials were utilized.
Project Difficulty: Difficult
Materials Needed:
Recycled 2x4’s
Heat register vent cover
Fiberglass resin and cloth
Waterproof wood glue
Sandpaper
Small vinyl bumpers (4)
Possibly wood filler and/or caulk
Equipment Required:
Table saw
Miter saw
Clamps (straight and band)
Planer
Instructions:
Use a recycled 2x4 about 8 feet long that has been confirmed to not to contain nails or other non-wood materials.
Step 1:
Choose a heating register that is what you want to use (I avoid painted ones to avoid potential lead paint).
Check the back of the register to confirm that around the outside edge there is at least an inch between the inside lip edge and the outside lip.
Make sure material 7/8 inch in thickness will fit easily in this space. This gives space for the box you are going to build.
Step 2:
Remove the damper from the register.
Cut the 2x4 in half in the 4 inch direction on either a table saw to give 2 pieces that are approximately 11/16 inch by 3-1/2 inches.
This also gives another opportunity to inspect for nails or other foreign materials. Safety first!
Step 3:
Trim about 1/8 of an inch both sides of the 3-1/2 inch boards. This should give 2 boards that are about 3-1/4 inch wide boards.
These can now be planed to about 9/16 of an inch thick (both boards the same thickness).
These are going to be glued with waterproof glue to give a board that is about 6-1/2 inch wide and this thickness you have made. These can now be sanded smooth.
Measure the length of the inner edges of the heat register and add 1/4 of an inch to these dimensions. Miter cut the boards.
Step 4:
Now it is needed to make the bottom of the box. Using the excess from the boards that were glued together earlier you will need to likely glue two of the boards together to make a board larger than the bottom of the box.
There should now be 4 pieces that will form a rectangular box. Using a band clamp these can be put together as a dry fit to make sure that the box will fit under the register to test the fit.
Adjustments can be made at this point if needed to make the box fit to the register.
Step 5:
Dry fit the box and use this to mark the bottom piece. After marking the bottom it can be trimmed to fit tightly in the bottom of the box.
Step 6:
Now the box is ready to assemble. I used 4 stacks of two quarter dollars under plastic wrap near the corners of the bottom to raise the bottom of the box and help avoid getting moisture trapped under the box.
Put the waterproof glue around the edge of the bottom piece. The edge pieces can now be added after placing an even layer of glue on the mitered edges and then held in place with the band clamp.
After the glue cures the box can be sanded and filled.
If you have left any holes from removed nails or other holes that go through the wood these need to be patched either from the outside or inside of the box.
I also ran a bead of caulk around the inside bottom of the box to seal up any gaps between the bottom and sides of the box. This step is necessary to keep fiberglass resin from the next step passing through the holes or gaps that might be in the box.
Step 7:
The inside of the box can now be fiberglassed following the package instructions. It is very important to completely seal the inside of the box with fiberglass.
After sanding I finished the box with polyurethane.
The final item added to my boxes were 4 small clear stick-on pads to help protect the surface that the box will be place upon.
Submitted by:
Dave Hanson, in Longview, WA


